
One day some time ago, I came across a pin on Pinterest showing how a lady had done this. I repinned, but when I finally got ready to click through to her tutorial, the entire blog refused to come up! Maybe it'll be back someday? Anyway, I was inspired by a photo from An Owl's Nest. Here's how I made some dryer balls out of old wool sweaters, and used up a bunch of scraps!
1) Round up:
--Your scrappiest wool or cashmere scraps (mine were left over after I made a Valentine wreath*)
--A thick wool sweater or two--some holes are fine, doesn't matter if it's crappy-looking
--A nicer-looking wool sweater with some decent non-holey sections for the outside of the ball
--Embroidery floss in complimentary colors
--A needle and scissors, of course :-)

My tiniest scraps, excited to fulfill their destiny
Your sweaters should preferably be clean already, because you don't HAVE to wash and felt these after they are made. I've done both. It's optional. Also, for this project I would not compromise on sweater content. I used some cashmere for the scrappy core, and the rest 100% wool. I would recommend avoiding any percentage of polyester, nylon, acrylic, etc., just to be sure they work properly.
2) Go ahead and thread your needle so it's ready when you need it! Cut your crappy-looking, possibly holey sweater into long strips. Grab a handful of your scrappy-scraps and squish them into a ball, then begin tightly rolling as shown. Keep adding strips until your ball is the size you want. Mine ended up about softball-sized. Bigger balls are easier to find when mixed in with clothes in the dryer.


3) Once your ball is a good size, sew the end of the last strip tightly to the ball with embroidery floss.

But WAIT! Before you go on to the next step, there's another option you could choose. If you have a little wool roving and would like a more traditional dryer ball, you could apply your roving to the ball you already have. Just pop over to Crunchy Betty's felted wool dryer ball tutorial and pick up at step 2. It's a genius way to save on expensive roving while getting a dryer ball that looks about the same! But if you'd like to continue with sweaters only, go on to step 4.
4) Now you are going to sew a snug-fitting tube to serve as a case for the ball you just wound up. So, pull a piece of your nicer-looking wool sweater around the ball to measure where you need to sew, and sew right sides together with your embroidery floss. Be sure to make the tube an inch or two longer than it needs to be to fit around the ball, because we will be turning the edges under in the next step.

Mine happened to be a sleeve that was a bit large.

When you cut the excess off, be sure to leave enough that it doesn't unravel! Then throw that cut off piece into the scrap pile for your next ball!
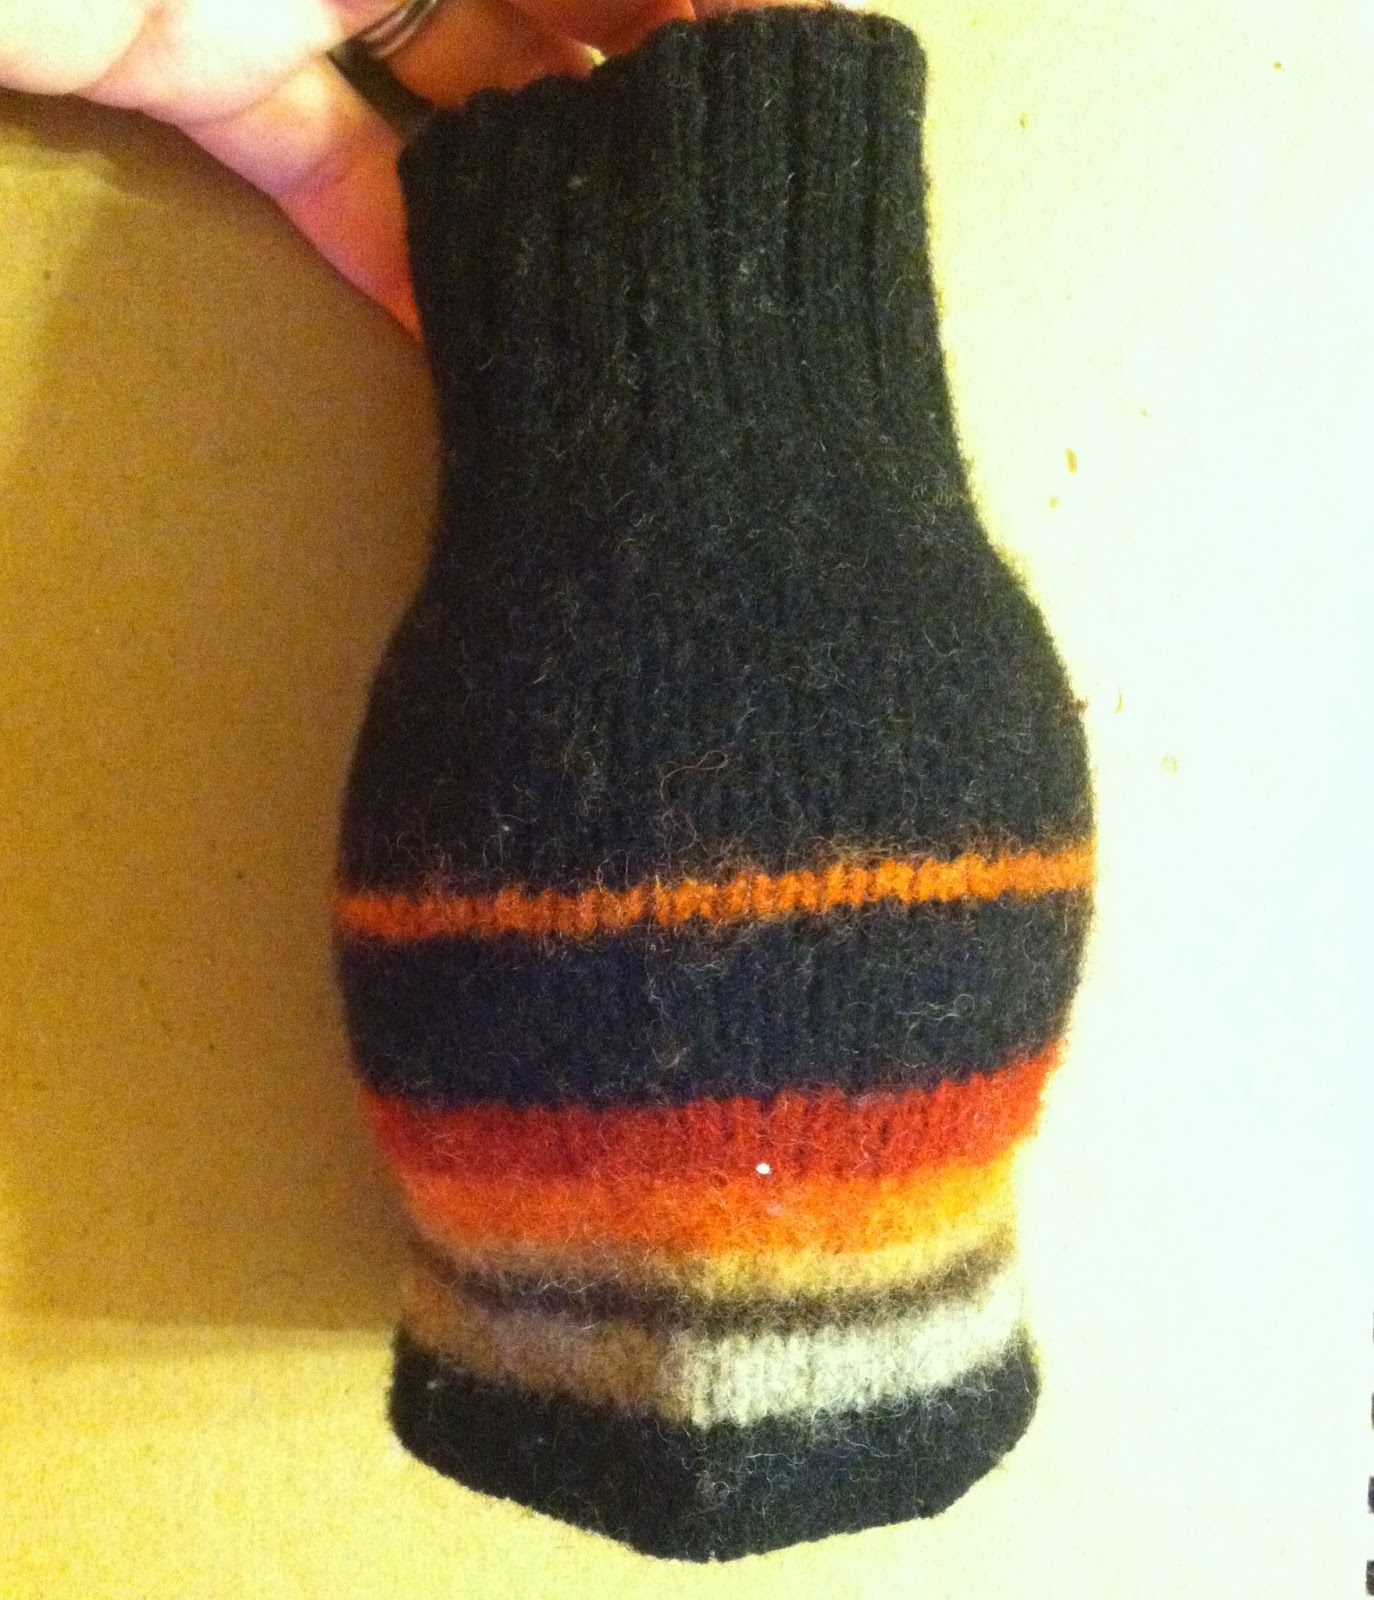
Turn it right side out and try it on your ball to see if it fits. It should be tight.
5) Now that you have a well-fitting sleeve, grab one end and turn the edge down to the inside. We are going to sew a few big stitches around that edge to gather it up.


6) Pull it tight! Once you get the first knot tied, tie a couple more to be sure it doesn't come undone. Then you can snip the thread off.
7) Repeat steps 5-6 on the other end.


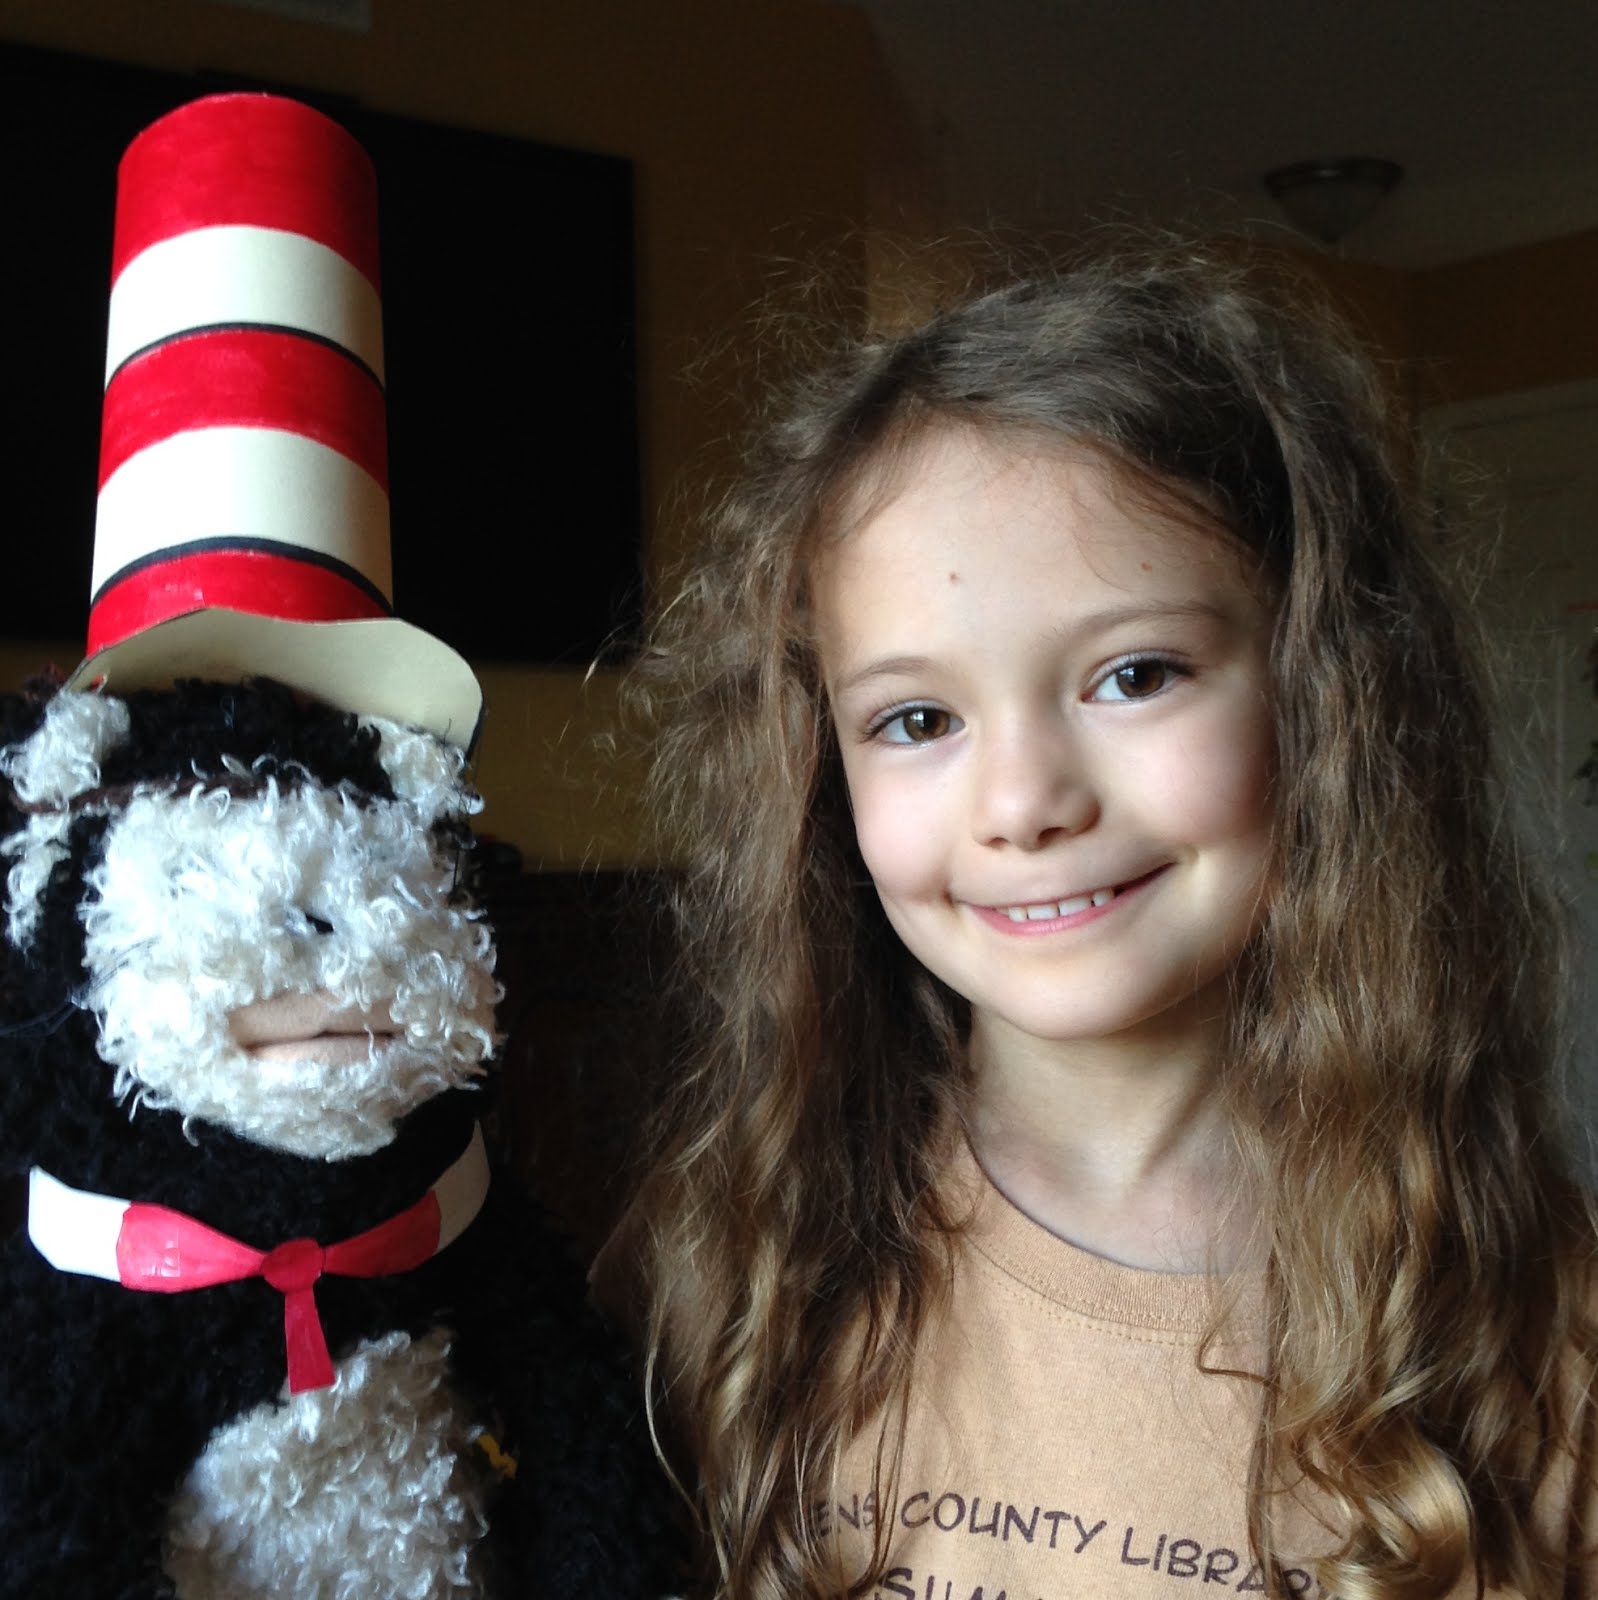
8) Explain to your ball-loving son that the ball is for the clothes dryer, not for him (if applicable). He took off with a couple of my first ones and crammed them into his sister's hot pink Barbie convertible. I'll make him some balls later. I have plenty of material!

9) Try them out! If you'd like the outside sweater to felt up a bit, you could wash it on hot and dry it a time or two. It might turn out even nicer if you tied it up in pantyhose first (not sure, because I didn't try that). You don't have to wash it, though. I was just as happy with the ones I threw straight into the dryer and began using immediately.

These I washed and dried. They are a little linty.
I haven't been using these long, but I have been able to significantly dial down the time my dryer runs. I even washed the kids' sheets today, which normally take extra dryer time, and they dried fast! I think there is also less static, but I'll need more time to say for sure. Sweater balls are a bit lumpier than traditional dryer balls and not quite as pretty, but since they spend most of their time in my dryer, it doesn't really matter. Also, if they ever start to come undone, they'll be super easy and cheap to fix! I'm pretty happy with how this little project turned out. Can't wait to see our next power bill.
*Here's the Valentine wreath. Made it with a coat hanger.


.jpg)
1 comments:
This is fantastic!
You ROCK for linking up this week to Tip Me Tuesday. {high fives}
Just a heads up, Tip Junkie can help you index your blog more effectively if you upload at least 2 images, 2 steps, and blog post URL into your Tip Junkie craft room!
Simply login and click "add a project" on your profile page to get started. {yep I've got your back!}
~ Laurie {a.k.a. the Tip Junkie}
Link ~ http://www.tipjunkie.com/how-to-add-a-craft-room-project-on-tip-junkie
Post a Comment